Even in 2026, the hunt for perfect Exotic armor rolls keeps Guardians grinding, and nothing beats the reliability of solo Master Lost Sectors for that targeted exotic slot drop. Among the many Lost Sectors that rotate daily, the Dreaming City’s Chamber of Starlight is still a fan favorite. It’s fast, fun, and surprisingly forgiving once you know the enemy spawns. This guide delivers a chill, step-by-step walkthrough stuffed with tips that make this Lost Sector feel less like a chore and more like a casual stroll with a ton of loot at the end. 🎒✨
Why Guardians Love This Lost Sector 💖
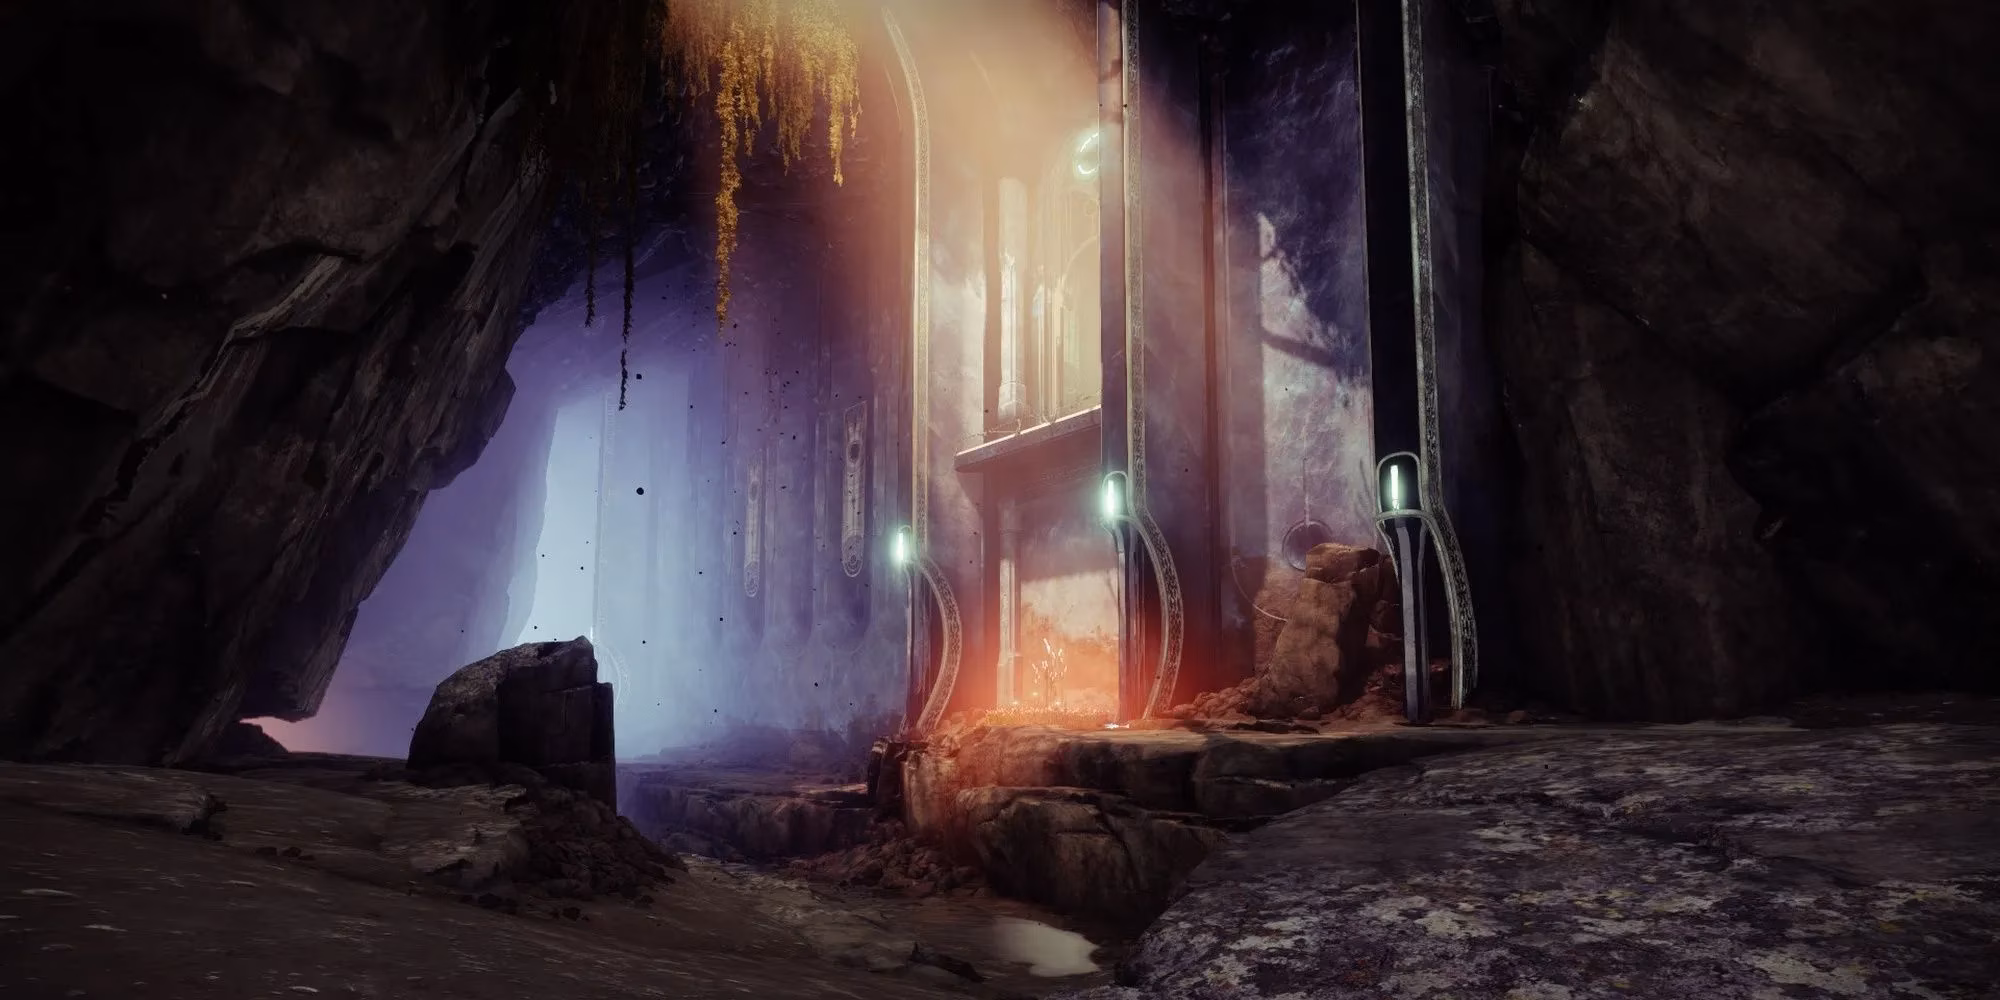
Chamber of Starlight stands out because it mixes long sightlines with manageable enemy density. You won’t get swarmed by twenty Thralls in a tiny corridor (looking at you, K1 Logistics). Instead, you’ll face Taken and Hive forces across an open cavern where range is your best friend. In 2026, the Power level requirements keep scaling, but once you’re at cap, the difficulty hinges entirely on decision-making and loadout. Overload and Unstoppable Champions appear in predictable waves, so a calm approach and the right stun tools turn this run into a sub-4-minute cakewalk. 🍰
Before You Drop: Modifiers & Recommended Loadout ⚙️
Seasonal modifiers shuffle every few months, but the core challenges in Chamber of Starlight remain consistent. Here’s a snapshot of what Guardians face on Master difficulty, plus a loadout that trivialises the whole sector. Use this as a template and tweak it based on the seasonal artifact perks you’ve unlocked.
| Modifier | Effect |
|---|---|
| Arach-NO! | Taken Vandals spawn webs on death |
| Equipment Locked | Cannot change gear after entering |
| Limited Revives | Fewer revives than usual (solo ignores this) |
| Match Game | Enemy shields are highly resistant to non-matching elemental damage |
| Champion Types | Overload & Unstoppable |
| Solar/Stasis Surge | Solar and Stasis damage increased (season-dependent) |
Recommended Loadout
-
Kinetic: Wish-Ender (intrinsic Anti-Barrier is overkill here, but wallhacks never hurt) or a solid pulse rifle with Unstoppable rounds.
-
Energy: A wave-frame grenade launcher or a crafted void bow like Under Your Skin with Overload arrows. This handles both add clear and Overload stuns effortlessly.
-
Heavy: Leviathan’s Breath is the undisputed MVP. Its intrinsic Unstoppable stagger and massive single-target damage delete Champions and the final Wizard boss in seconds. Alternatively, a linear fusion rifle like Cataclysmic or Taipan-4fr does similar work from safety.
-
Subclass: Solar Warlock with Well of Radiance or a Void Hunter with Gyrfalcon’s Hauberk for constant volatile rounds. Arc Titan with Cuirass of the Falling Star also gets honorable mention for melting the boss.
Now, let’s break down the encounter room by room. 🗺️
Entrance: Sniper City & First Champion Dance 🎯
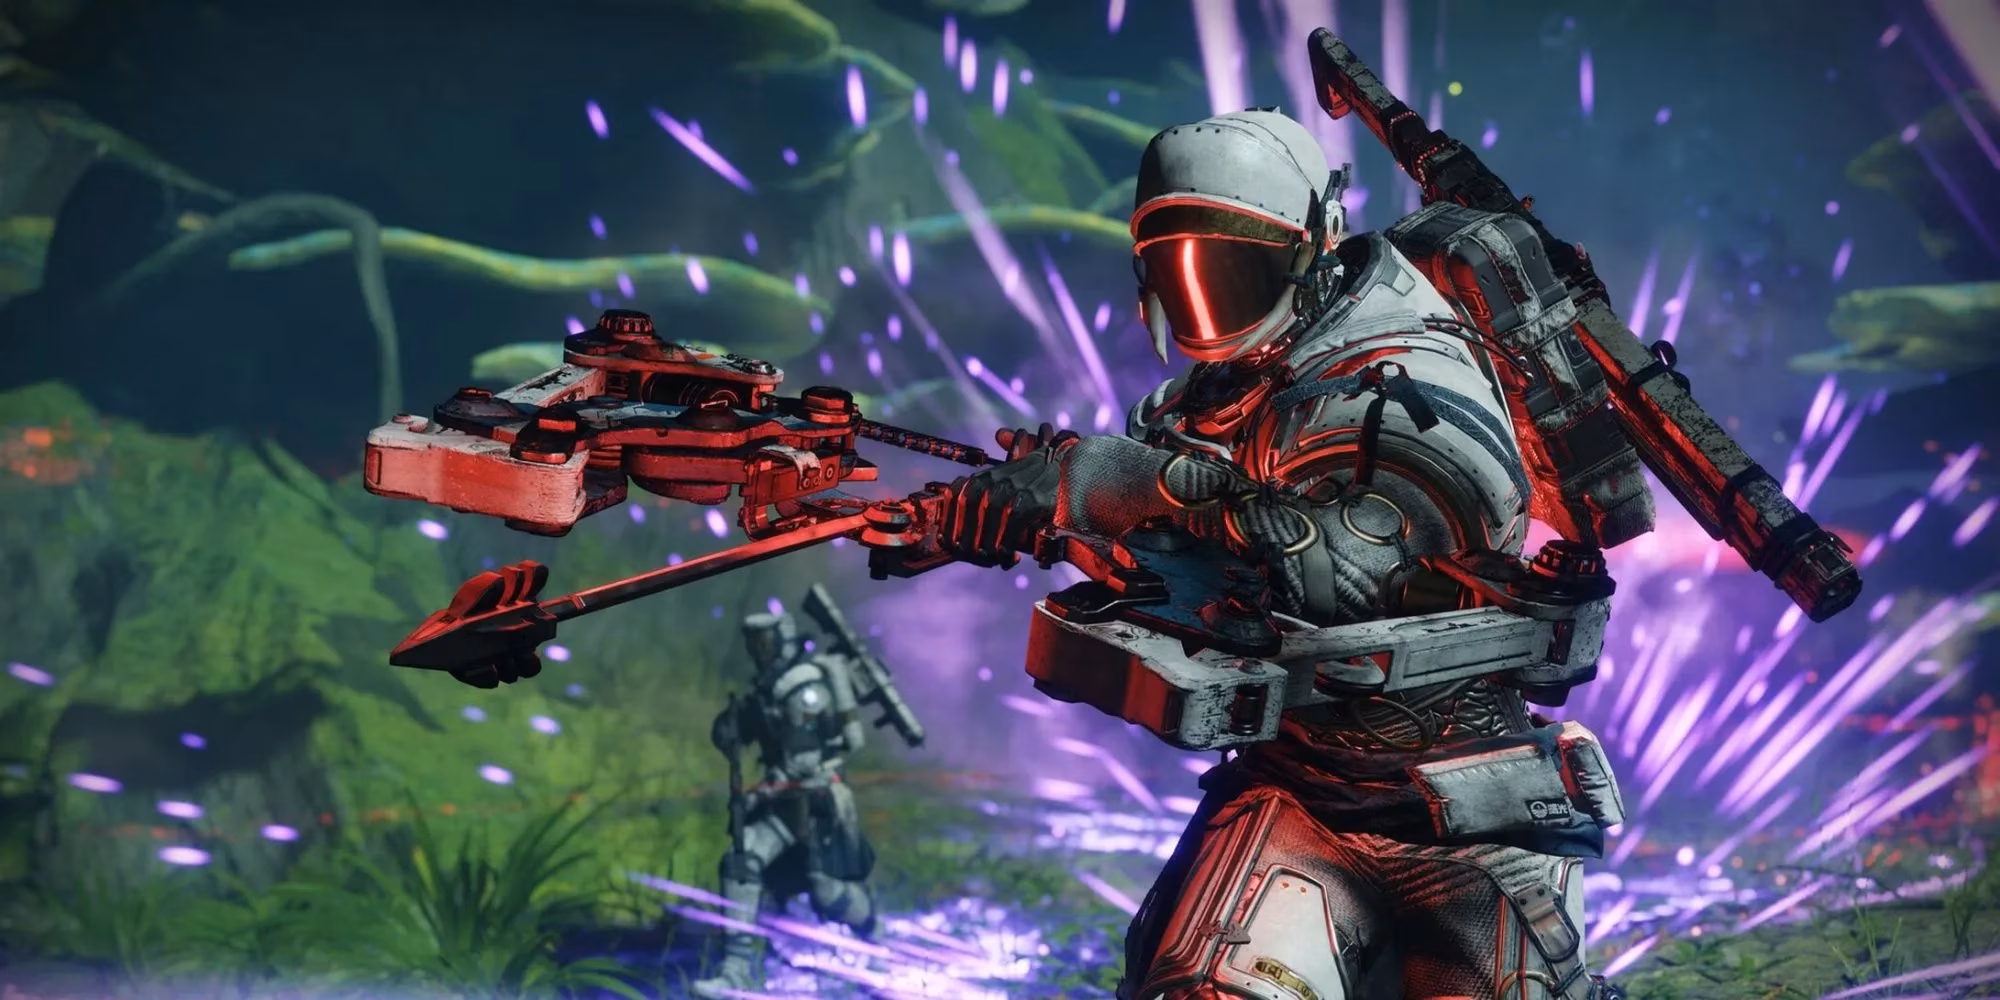
The moment you spawn, an Unstoppable Phalanx is already pushing toward you, backed by a Knight and several Hobgoblins. Do not rush forward. Instead, backpedal slightly and take out the Hobgoblin perched on the ledge above the Champion first. This sniper can ruin a flawless run if ignored.
Once that’s done, swap to your Unstoppable weapon, stun the Phalanx, and unload your heavy. Leviathan’s Breath or a linear fusion will kill it in one stun cycle if your aim is true. If not, just stun it again. The Knight behind it can be taken down with a few heavy shots as well.
Right around the corner, things get a little spicy: a pack of Acolytes, an Overload Hobgoblin, lesser Hobgoblins, and a Solar-shielded Knight. Use a void splash weapon to clear the Acolytes safely. The Overload champion and remaining Hive will start walking up the ramp toward you – perfect. Plink them from distance with your bow, stun the Overload, then sweep up the adds before finishing the champion. Move up the ramp only when everything is dead. Easy. 😮💨
Cavern: The Long Hall That Tests Your Patience 🏟️
Welcome to the main event. This cavern throws seven Champions at you across three waves, but the massive distance between you and them is your biggest advantage. Immediately after entering, a group of Thralls rushes you. Dispatch them quickly; then look straight ahead for an Unstoppable Phalanx marching down the path. Stun it and pump damage. If it retreats behind the rocks to your right, don’t panic. Just wait for it to peek out again.
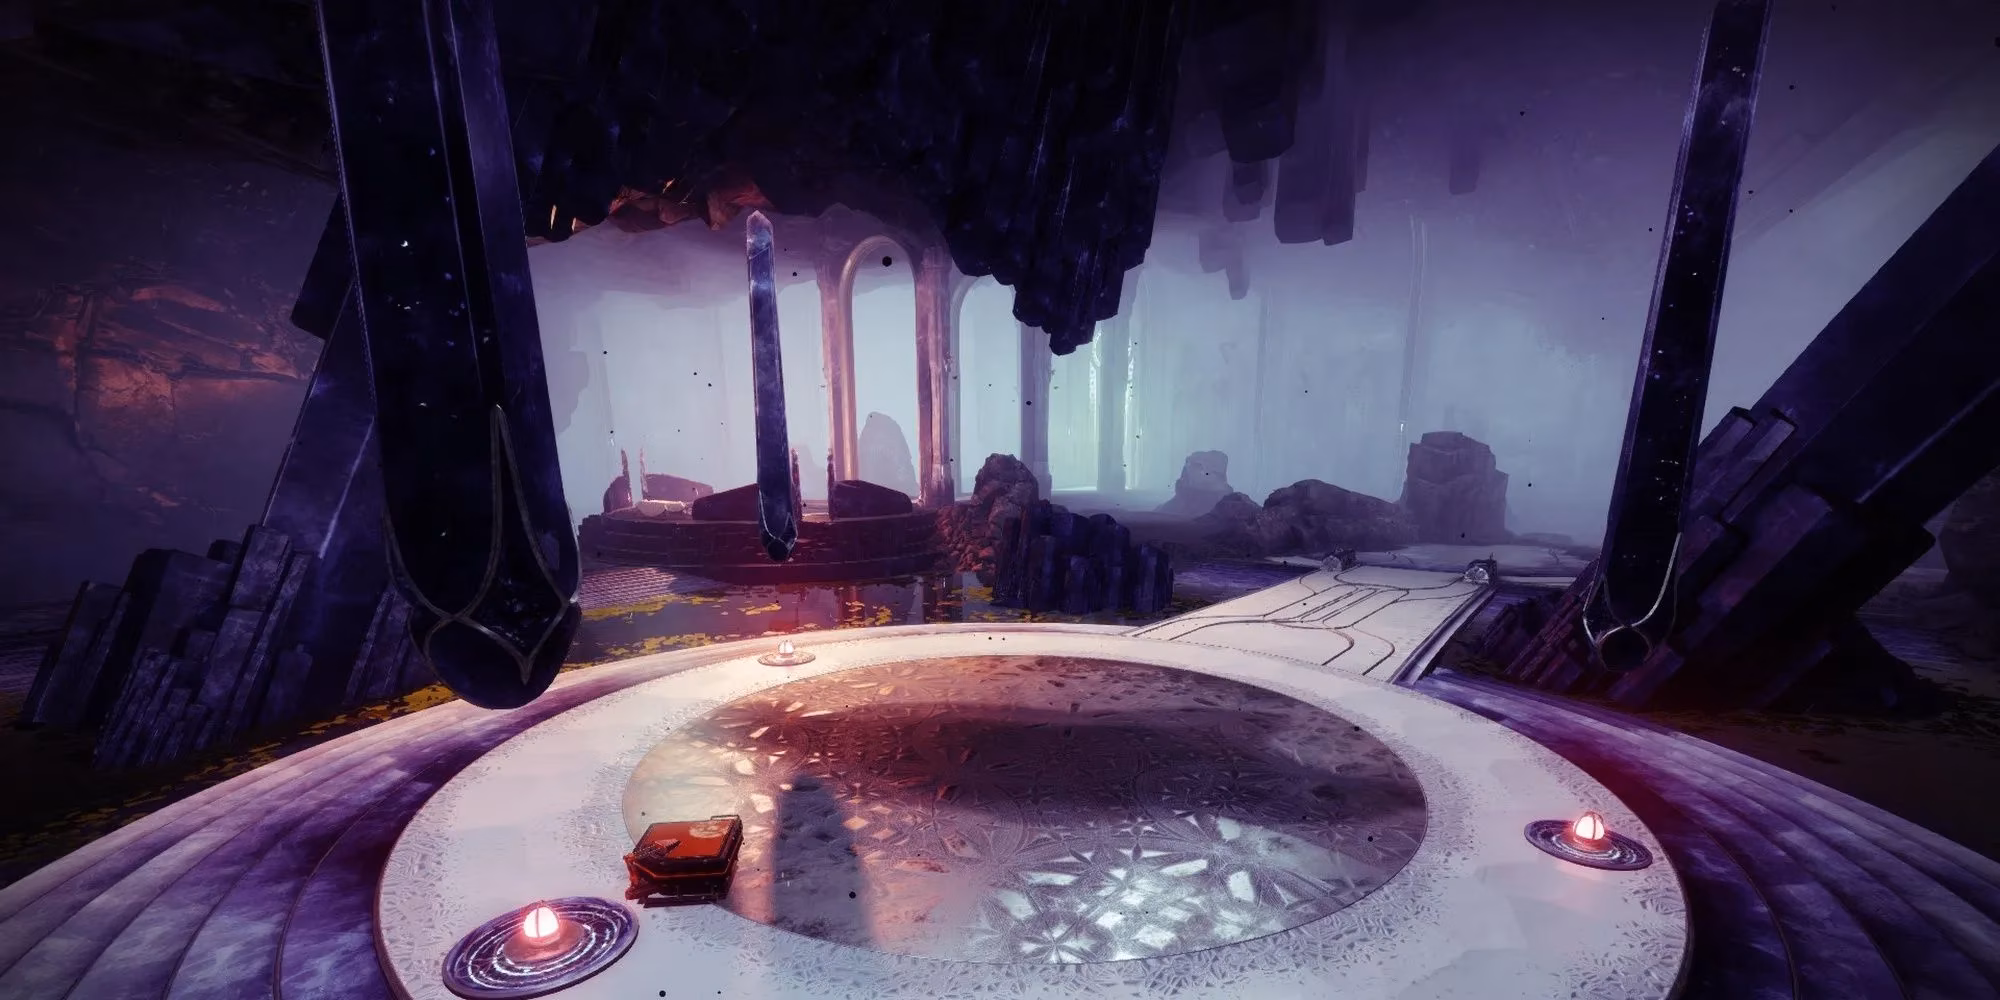
At the same time, a small group of Acolytes and Hobgoblins will set up camp on the ledges to your right. Use the rock near the entrance as cover and pick them off. There’s also a Knight and a Goblin near the Lost Sector chest. Heavy weapons melt the Knight instantly. Behind the chest area, an Overload Hobgoblin will be sniping. Stun it, burst it down, and then prepare for the real endurance test. 💪
Champion Wave: Double Unstoppable Life 🛡️
Two Unstoppable Phalanxes and a handful of Thralls will now spawn and push toward you. Retreat to the entrance hallway. This bottleneck works in your favor. Stun both Phalanxes, but only damage one at a time. Repeat the stun-and-burn dance until they’re both scrap metal. If you have a Vortex grenade or a Witherhoard shot available, throwing it in the choke point makes this wave laughably easy.
After clearing them, more Acolytes and Hobgoblins appear on the right side of the cavern. Take them out from range before focusing on the final boss – a nasty Wizard with tracking Darkness blasts. The goal is to drop the Wizard to about 50% health to spawn the final add wave. Stay near the entrance during this phase; getting too close spawns an Overload Hobgoblin right behind you on the overlook. It’s better to kill the Overload Champion now, while the Wizard is still manageable.
Final Wave & The Chest: Time to Smile 😁
When the Wizard’s health hits the magic 50% mark, a swarm of Thrall pours out. With an Unstoppable weapon or a good area-of-effect grenade, they vanish in seconds. If you haven’t yet killed the Overload Hobgoblin, do it now. Then, focus all your remaining heavy and super on the Wizard. Peak-shooting from behind cover avoids most of its projectile damage. Once the Wizard falls and the “Champions Defeated” message appears, grab that sweet, sweet Exotic chest.
Guardians who’ve followed this strategy in 2026 consistently clear Chamber of Starlight in under five minutes, with a solid chance at the Exotic armor piece they’re chasing. Whether it’s a god-rolled Star-Eater Scales or an Osmiomancy Gloves upgrade, this Lost Sector delivers without making you want to throw your controller. 🎮✨
See you in the Dreaming City, champion slayers! 💠
Recent analysis comes from HowLongToBeat, and it’s a useful reminder that the real “efficiency meta” for Master Lost Sectors like Chamber of Starlight is repeatable, low-risk clears rather than hero plays—tightening your room-by-room pacing, sticking to long sightlines, and minimizing deaths so your farming loop stays consistent over long sessions when you’re chasing a specific exotic slot.