Presage is hands down one of the most atmospheric and rewarding Exotic missions in Destiny 2, and as of 2026, it’s still a must-run for Guardians chasing that spicy Dead Man’s Tale scout rifle. Originally launched way back in Season of the Chosen, this creepy trek through an abandoned Cabal ship, the Glykon, got a fresh coat of paint when it returned in the Legends tab. Whether you’re a newbie looking to grab a craftable lever-action beast or a veteran aiming to snag Season of the Haunted weapons, this guide has you covered—no more getting lost in the dark, fr fr. Let’s dive into the nitty-gritty and make the Scorn regret they ever boarded that ship.
🛸 Is Presage the Same in 2026?
Good news: the core experience hasn’t been gutted. The maze puzzles, the spooky Egregore spores, the electric rooms, and that tanky Locus of Communion boss are all intact. But a few QoL tweaks make it way more accessible now:
-
🎯 No more collectibles or scannable lore entries aboard the Glykon—so you can focus purely on the run.
-
🔗 Egregore Link buff persists between rooms, which means you can skip some backtracking in the maze if you’re speedy.
-
💪 Boss health bar is now partitioned, clearly showing DPS phase transitions.
-
🕒 Legend difficulty changed from 25 to a 30-minute time limit, and Champions are gone—no need to build around Anti-Barrier, Unstoppable, or Overload.
-
🔫 Dead Man’s Tale is now craftable, and each completion drops intrinsic upgrades (Normal gives 1, Legend gives 2). Season of the Haunted weapons also drop, which is a huge W.

⚔️ Legend Mode – Are You Ready?
If you’re chasing that god roll faster or just love a challenge, Legend Presage is the way. The layout is identical to Normal, but the difficulty spike is real. You’re capped at 15 Power under enemies, equipment is locked, and Scorched Earth means grenades fly everywhere. The 30-minute timer adds pressure, but with no Champions, you can run any loadout that slaps.
| Legend Modifiers | Details |
|---|---|
| Surges | Arc & Strand |
| Overcharge | Scout Rifle |
| Threat | Void (incoming damage) |
| Shields | Arc, Solar, Void |
| Power Limit | 1,815 effective (-15 delta) |
| Equipment Locked | Yes |
| Scorched Earth | More enemy grenades |
| Time Limit | 30 minutes (from boarding) |
Pro tip: bring a hard-hitting Scout and a good Arc/Strand weapon for surges. Witherhoard or Anarchy work wonders on the boss, and a blinding GL can save your bacon in the combat rooms.

🚀 Step-by-Step Walkthrough
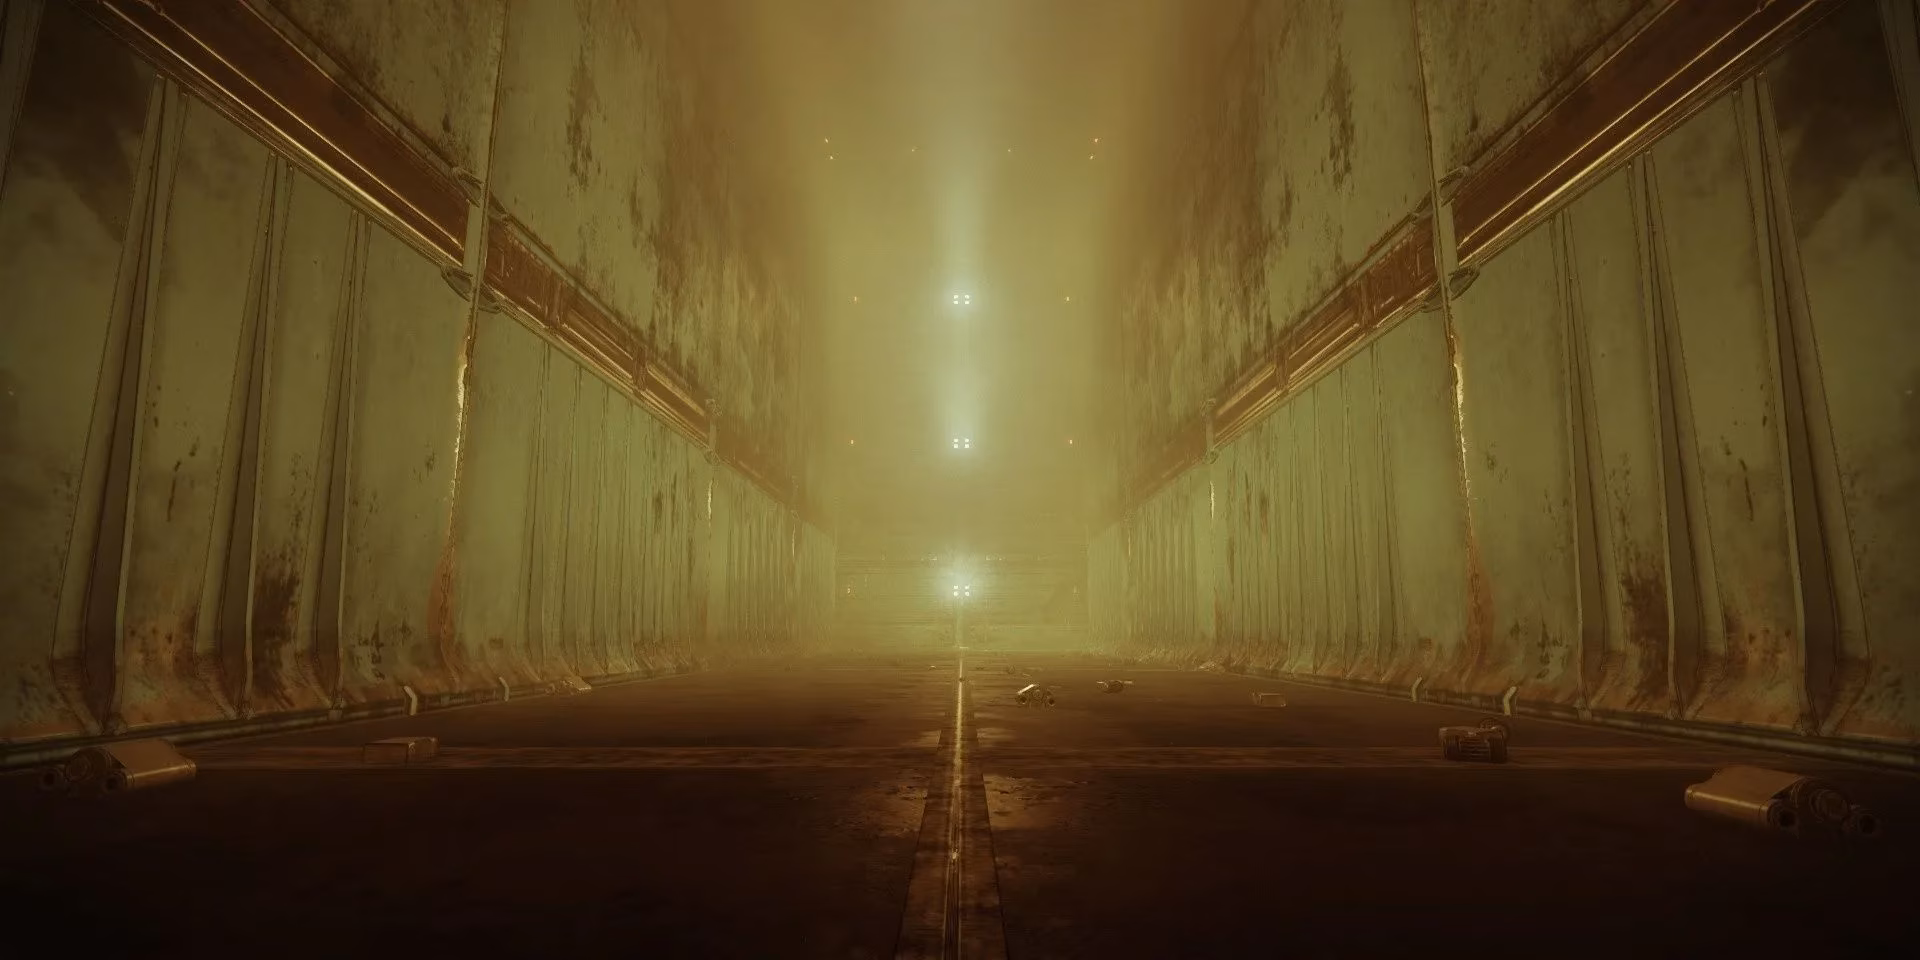
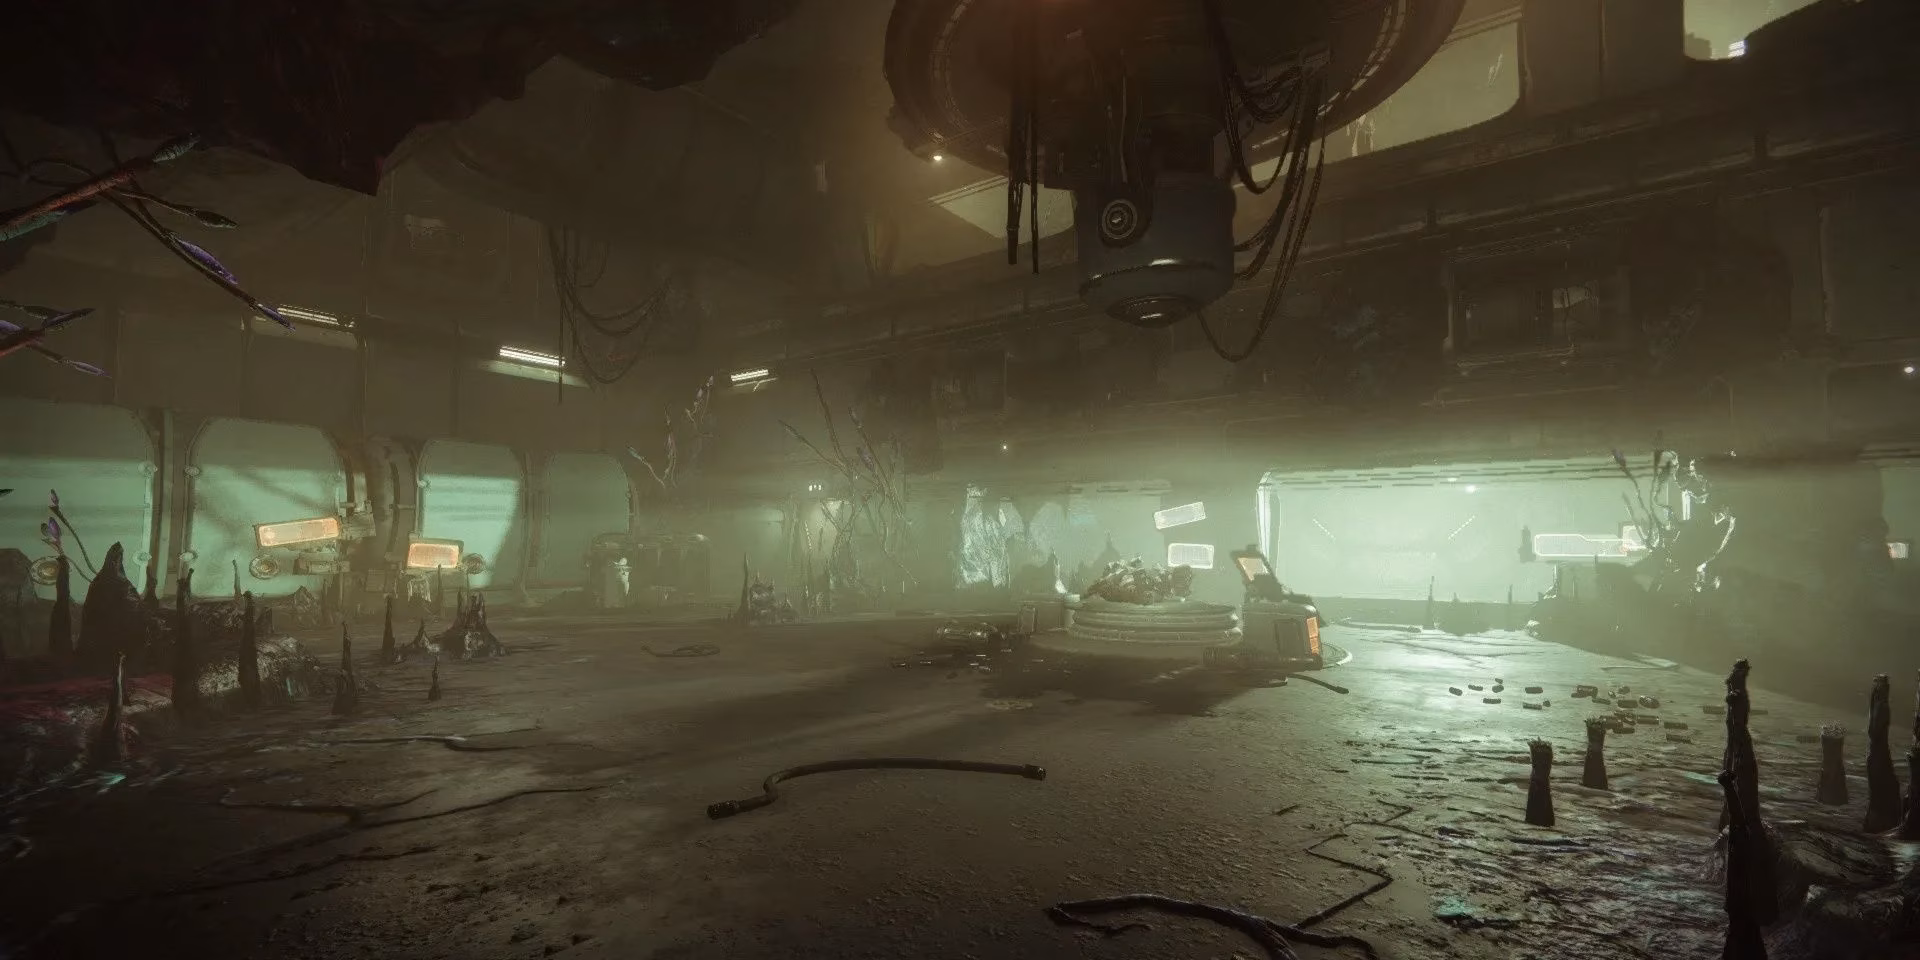
🌬️ Entering the Glykon
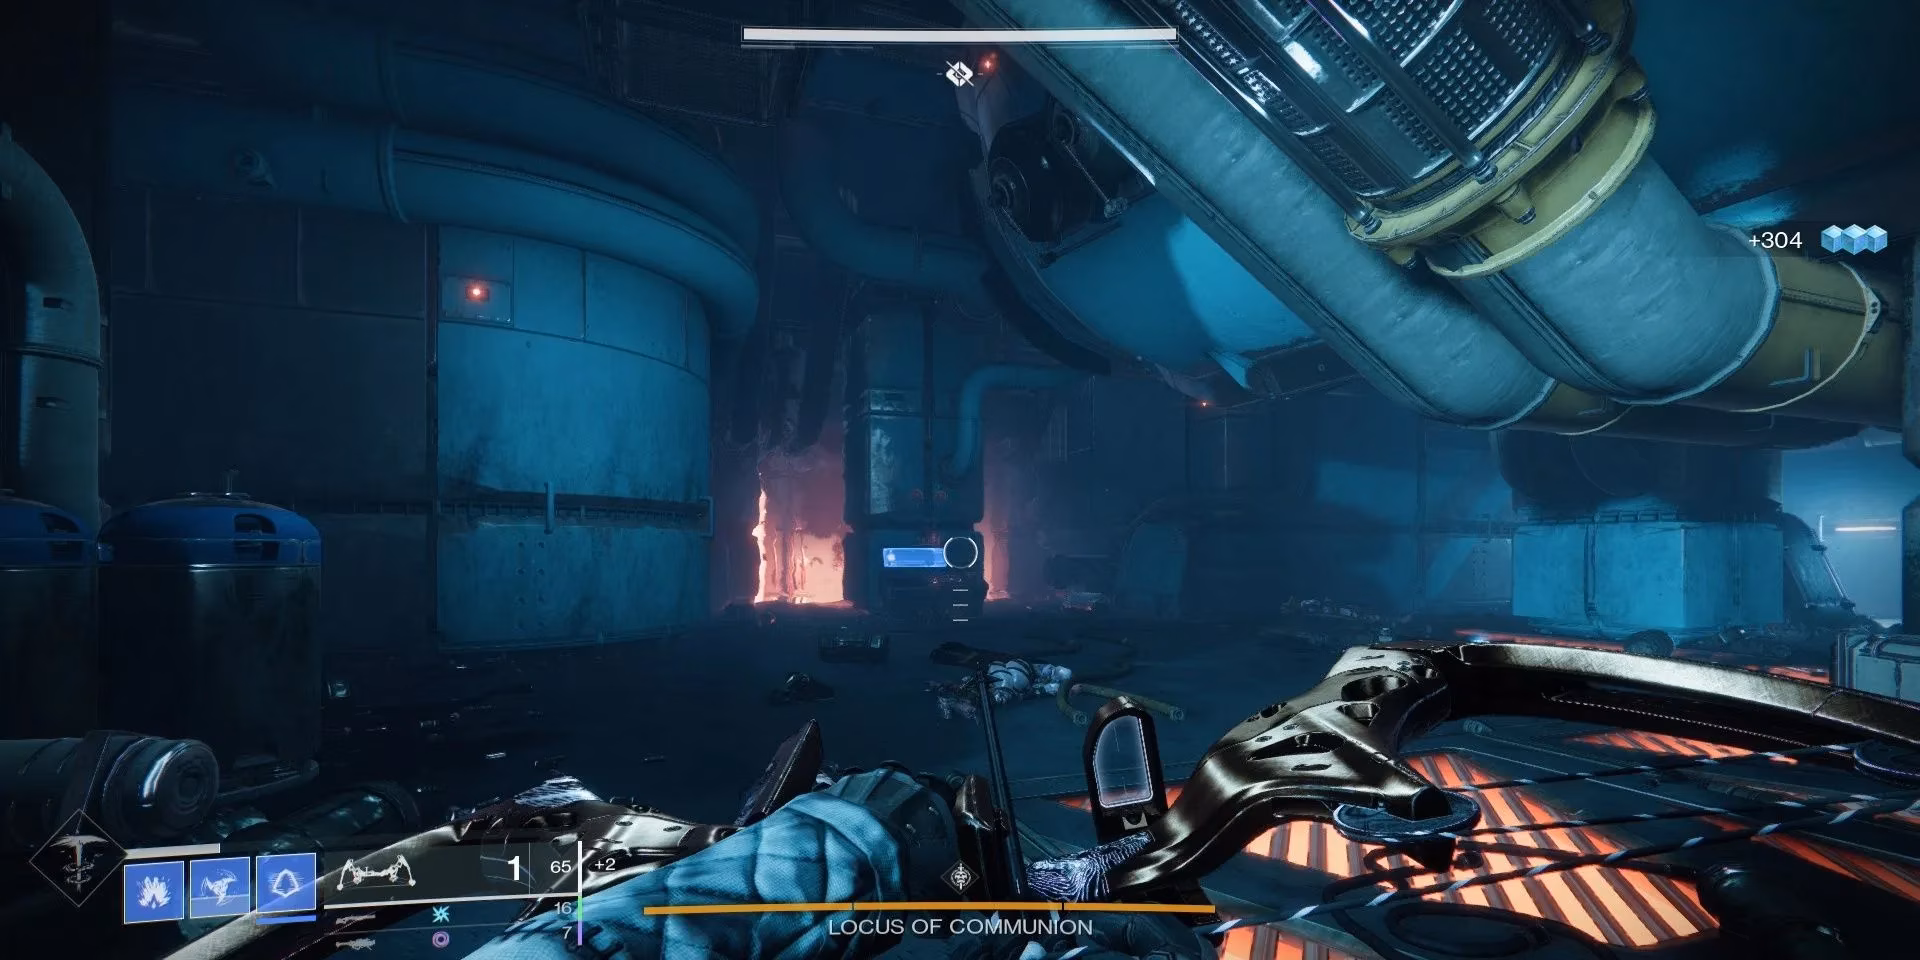
You’ll spawn at the loading ramp. The front door is locked, so hop left onto the exterior platforms that snake along the hull. When you hit a dead end, turn around or look further up. Once inside, shoot the grates blocking your path. Follow the linear corridor until you reach a big open room with a massive Cabal door. Flip the lever to the right to open it. Turn around—you’ll see a wall of Darkness flora and a cluster of glowing spores near a fog gate. That’s your cue to get funky.
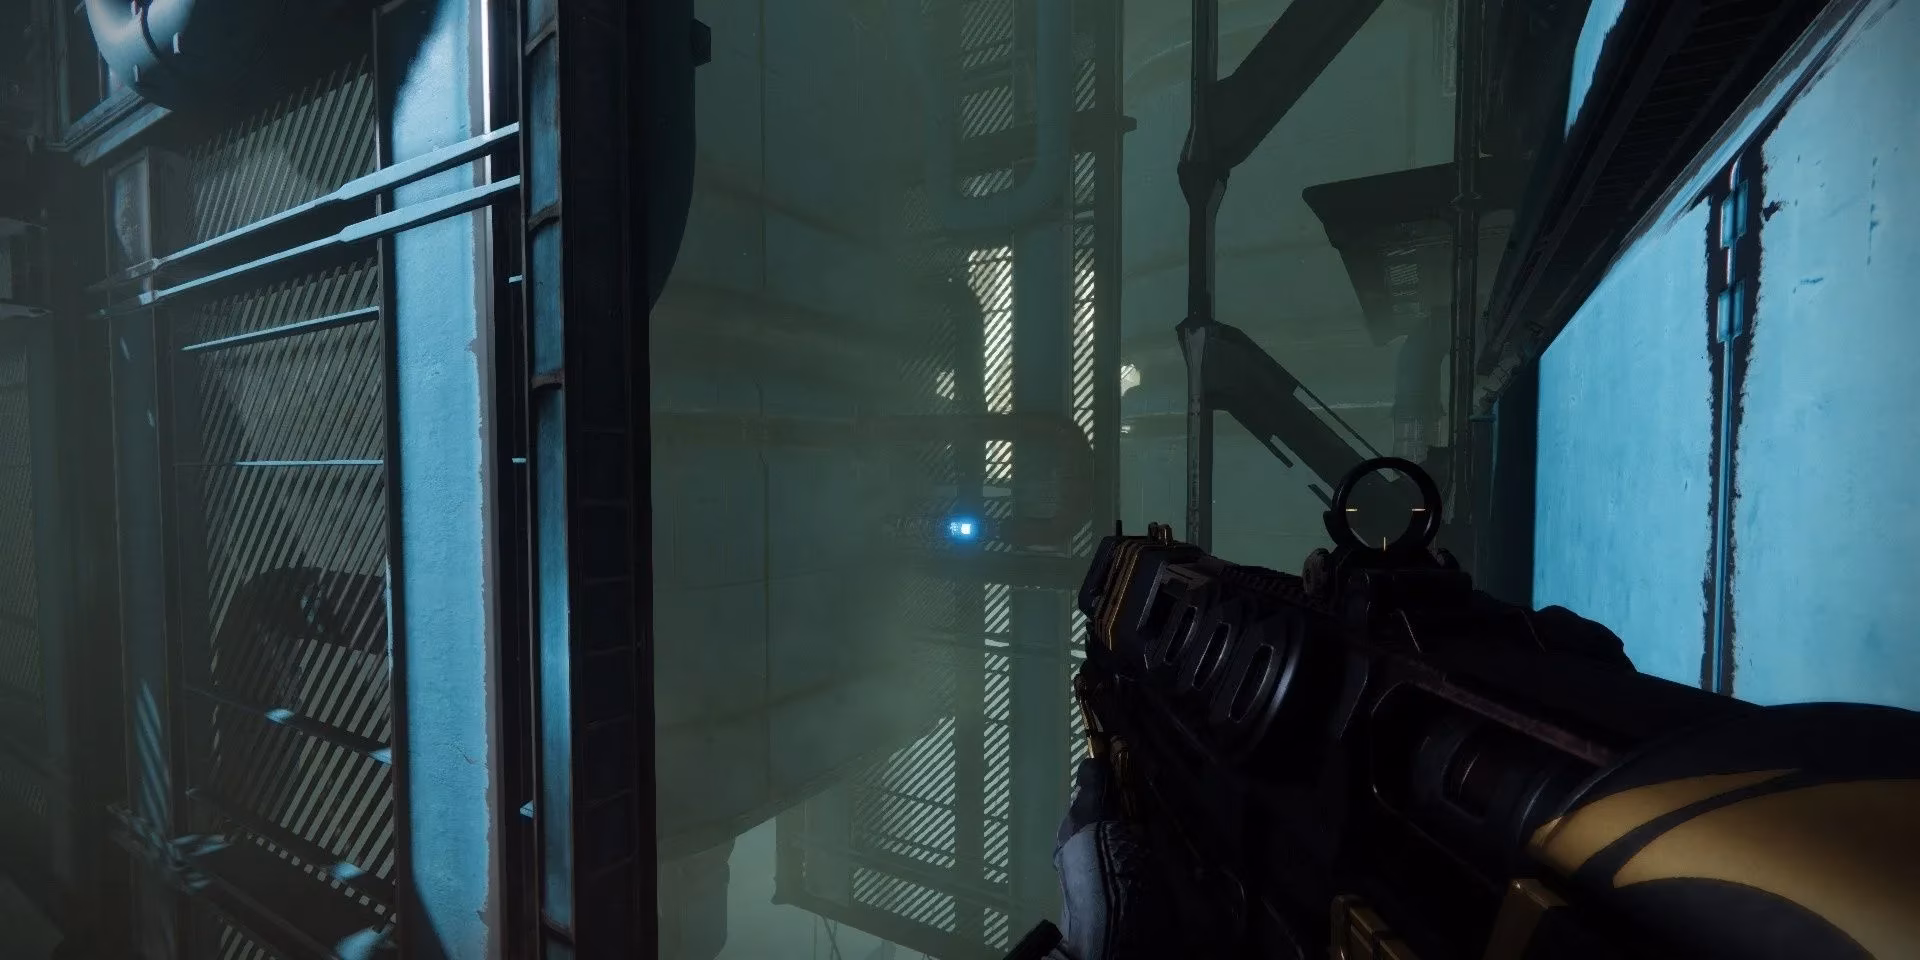
🍄 Popping Spores & Egregore Link
Stand near the spore cluster and shoot it. This gives you a 15-second buff called Egregore Link. That buff lets you walk through the creepy Darkness fog gates. Now go to the top-left corner of the room, break the vent, and crawl forward. When the path ends, jump up the vent shaft. You’ll drop into the Electric Room—buckle up.
⚡ Electric Room
After dropping, turn right and clear out the Screebs (they’re tanky little jerks). At the end of the path, flip a switch to open a door near your entry point. Run back, pop the spores there, and cross the now-accessible fog. More Screebs await. Look for a red tube with an exposed fuse—shoot it to open the hatch beside it. Drop down, deal with yet more Screebs, then jump onto the platform right above where you landed. Near the wall, flip a switch. Sprint to the opposite side of the room, cross another gap, and flip the switch on that platform. Double back to the lower floor, turn left, and you’ll see a newly opened hatch with a fuse. Destroy it. Go back to the last gap you crossed, land on the platform below, and jump into the garbage chute—be ready to break your fall.
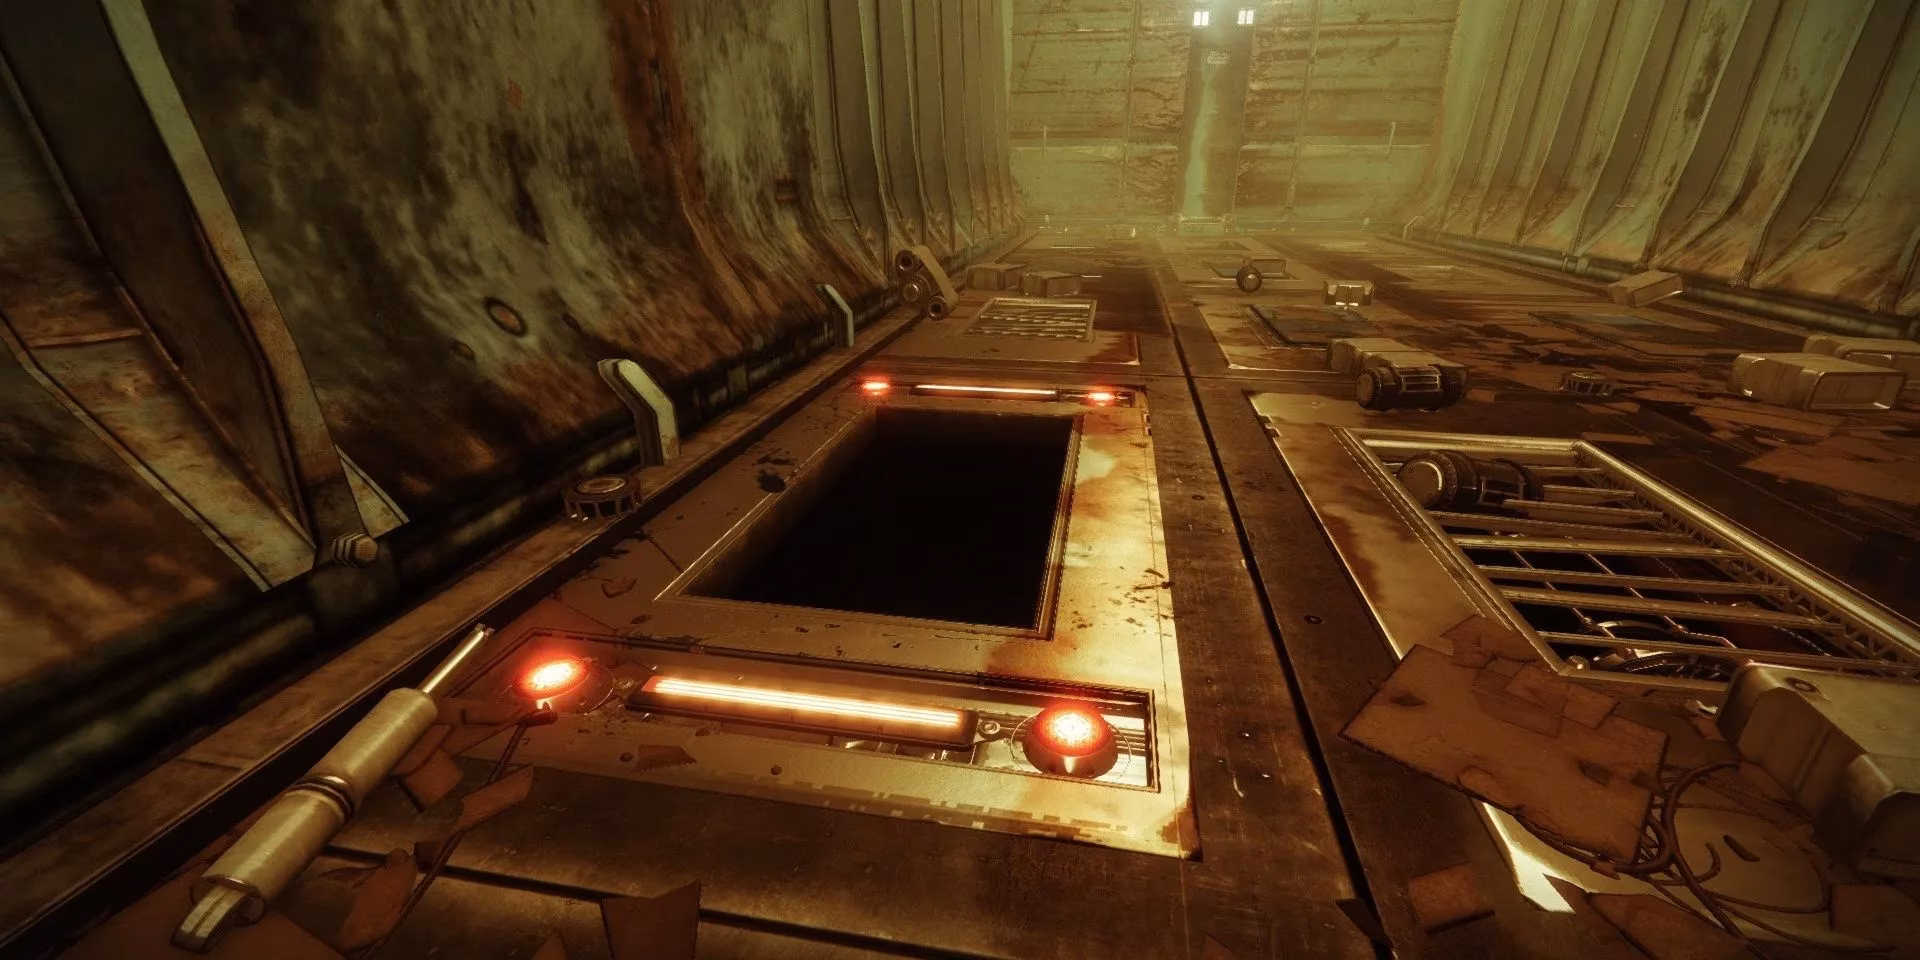
🗑️ Garbage Compactor
This room is equal parts hilarious and stressful. The walls slowly close in, Screebs rain from above, and you need to destroy three fuses hidden under vents. The glowing vents near the center hold the fuses. Break all three to reveal an exit hatch with red lights.
Interact with the switch to start the encounter. Prioritize vents near the compactor walls first, then work inward. Once all three fuses are gone, jump into the red-lit hatch. Pro move: bring a wave-frame GL or a shotgun to vaporize Screebs before they hug you.
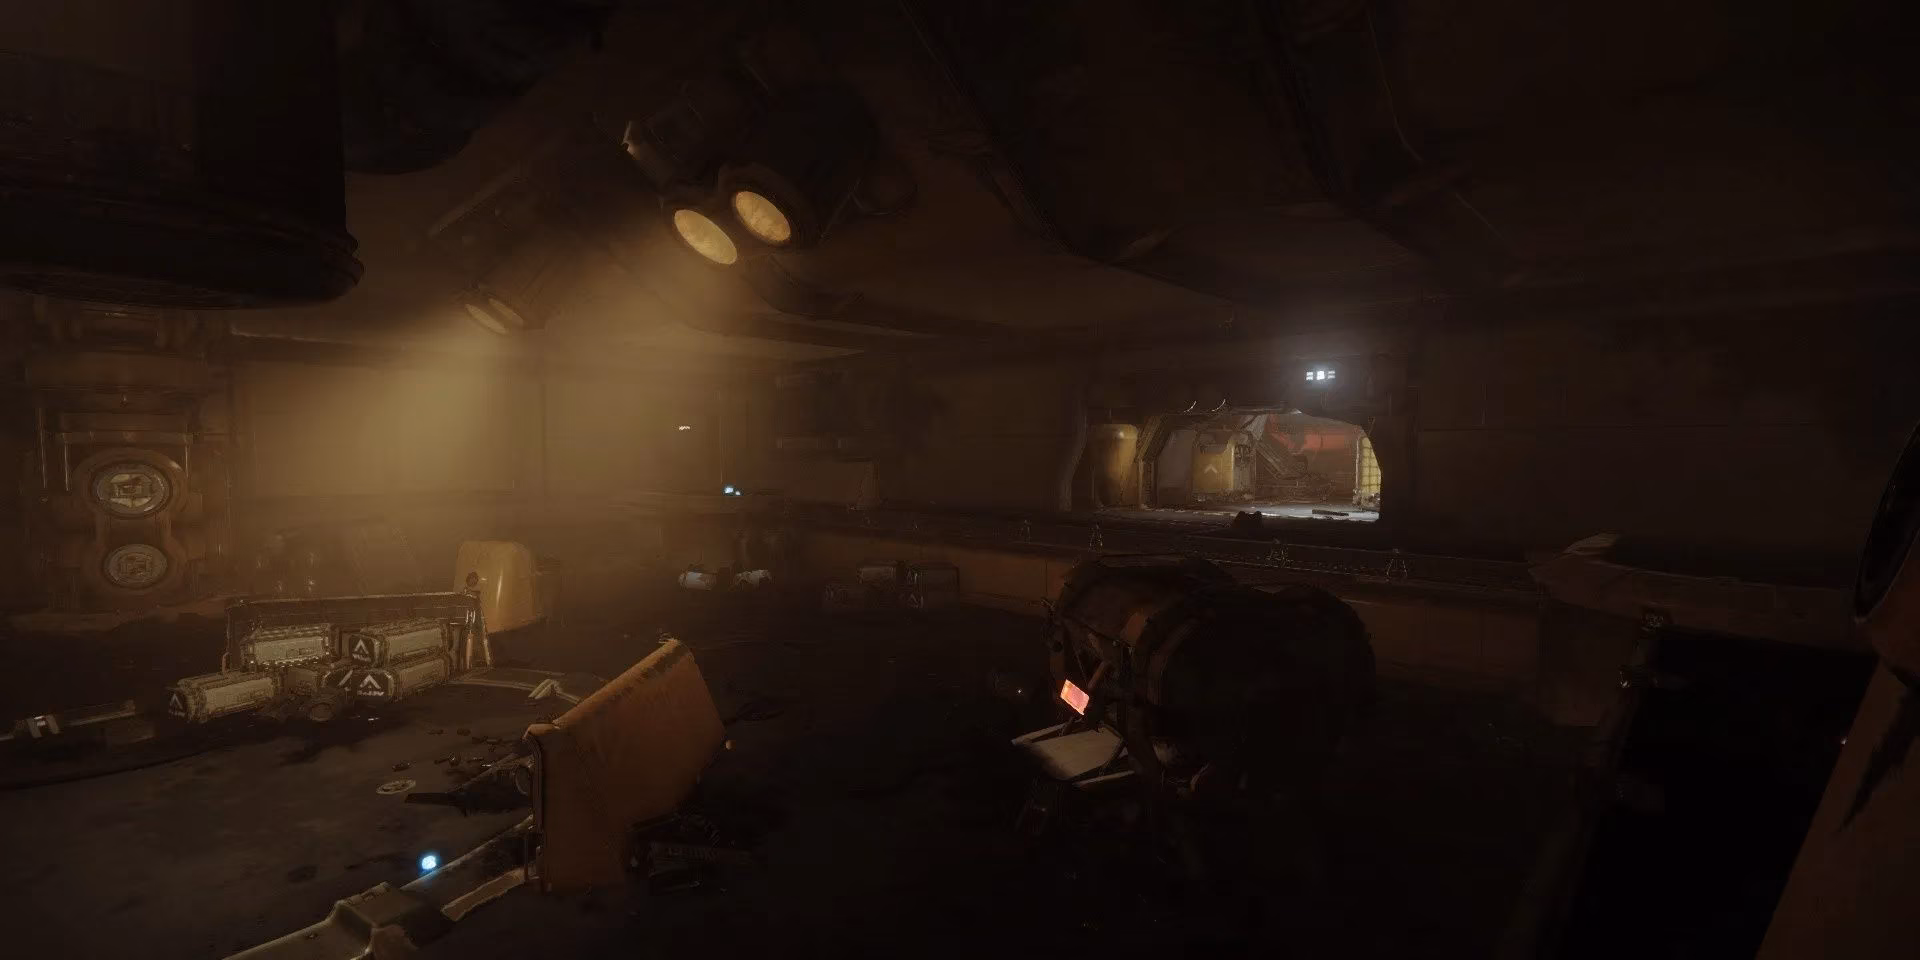
💥 Scorn Combat Encounters
First fight: Waves of Scorn spawn as you drop down. Raiders (snipers) chill in the back, Ravagers charge you, and Chieftains rain tethers. Snipe the snipers first, then mow down Ravagers. Clean up the Chieftains and any leftover trash. Easy peasy.
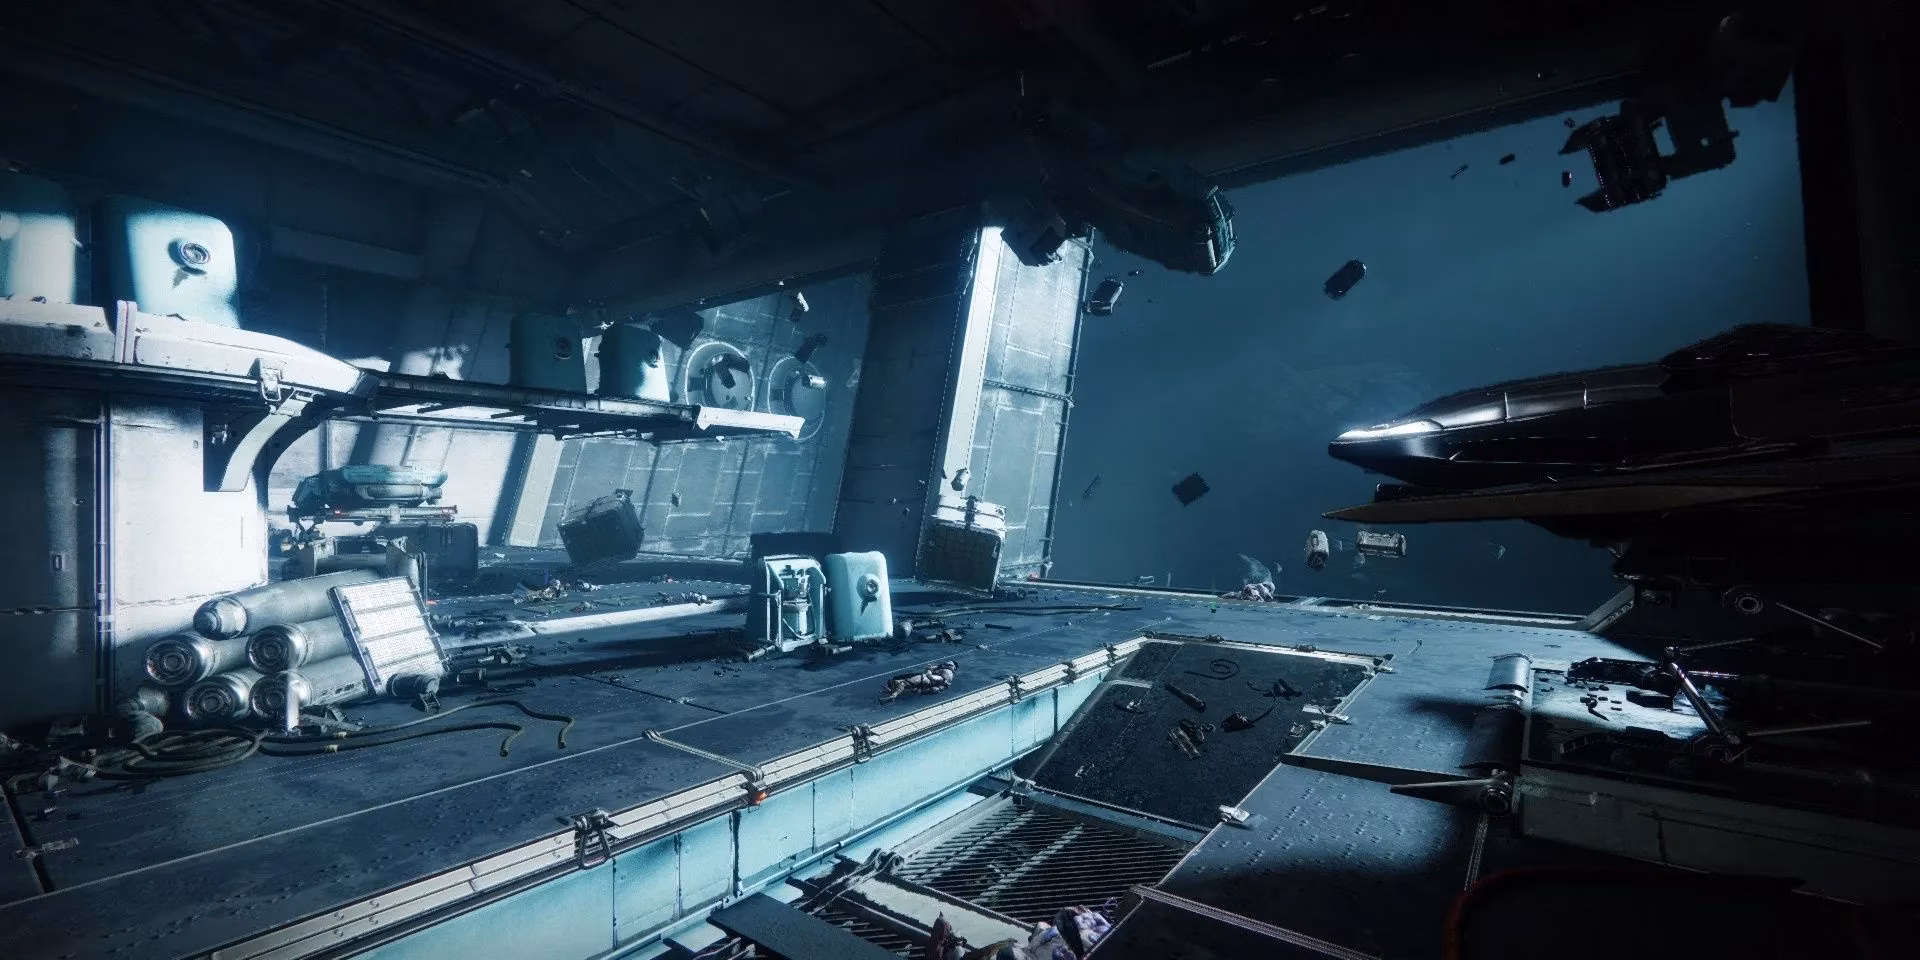
Second fight: This one’s spicier. Two Abomination bosses blast lightning while adds swarm you. Stick to cover, pick off Raiders on the upper platform, and thin the Ravager herd. Burn one Abomination with your super and heavy—just beware, when one dies, Screebs join the party. Rinse and repeat for the second Abomination. After both are down, the hangar clears.
To leave: climb onto the exterior platforms to the right of the second hangar door, jump onto the docked Cabal ship, and look for an air vent in the back-left corner. Crawl through to enter the final maze.
🔥 Maze – Don’t Get Turned Around!
Right off the bat, do a U-turn left to find a switch near a Cabal door. That reveals a spore cluster. Pop it, then run to the right side of the room and cross the fog gate. Inside, delete a few Screebs and flip the switch at the end. Now a timed fuse appears across from you—destroy it and you have 5 seconds to jump up to the platform above (the electric grid vanishes). Flip the switch up there, then follow the left corridor to find another switch.
All that fuss opens a spore cluster right next to the timed fuse. Grab the buff and hustle back toward where the Screebs were. Jump up to the left platform and follow the path into a new room.
Clear out Scorn, then flip a switch to open the door below you. Turn right, drop down, kill the Cabal turret, and destroy the fuse to the right of it. A spore cluster appears directly across from the entrance—pop it and drop down the fog gate at the end of the room.
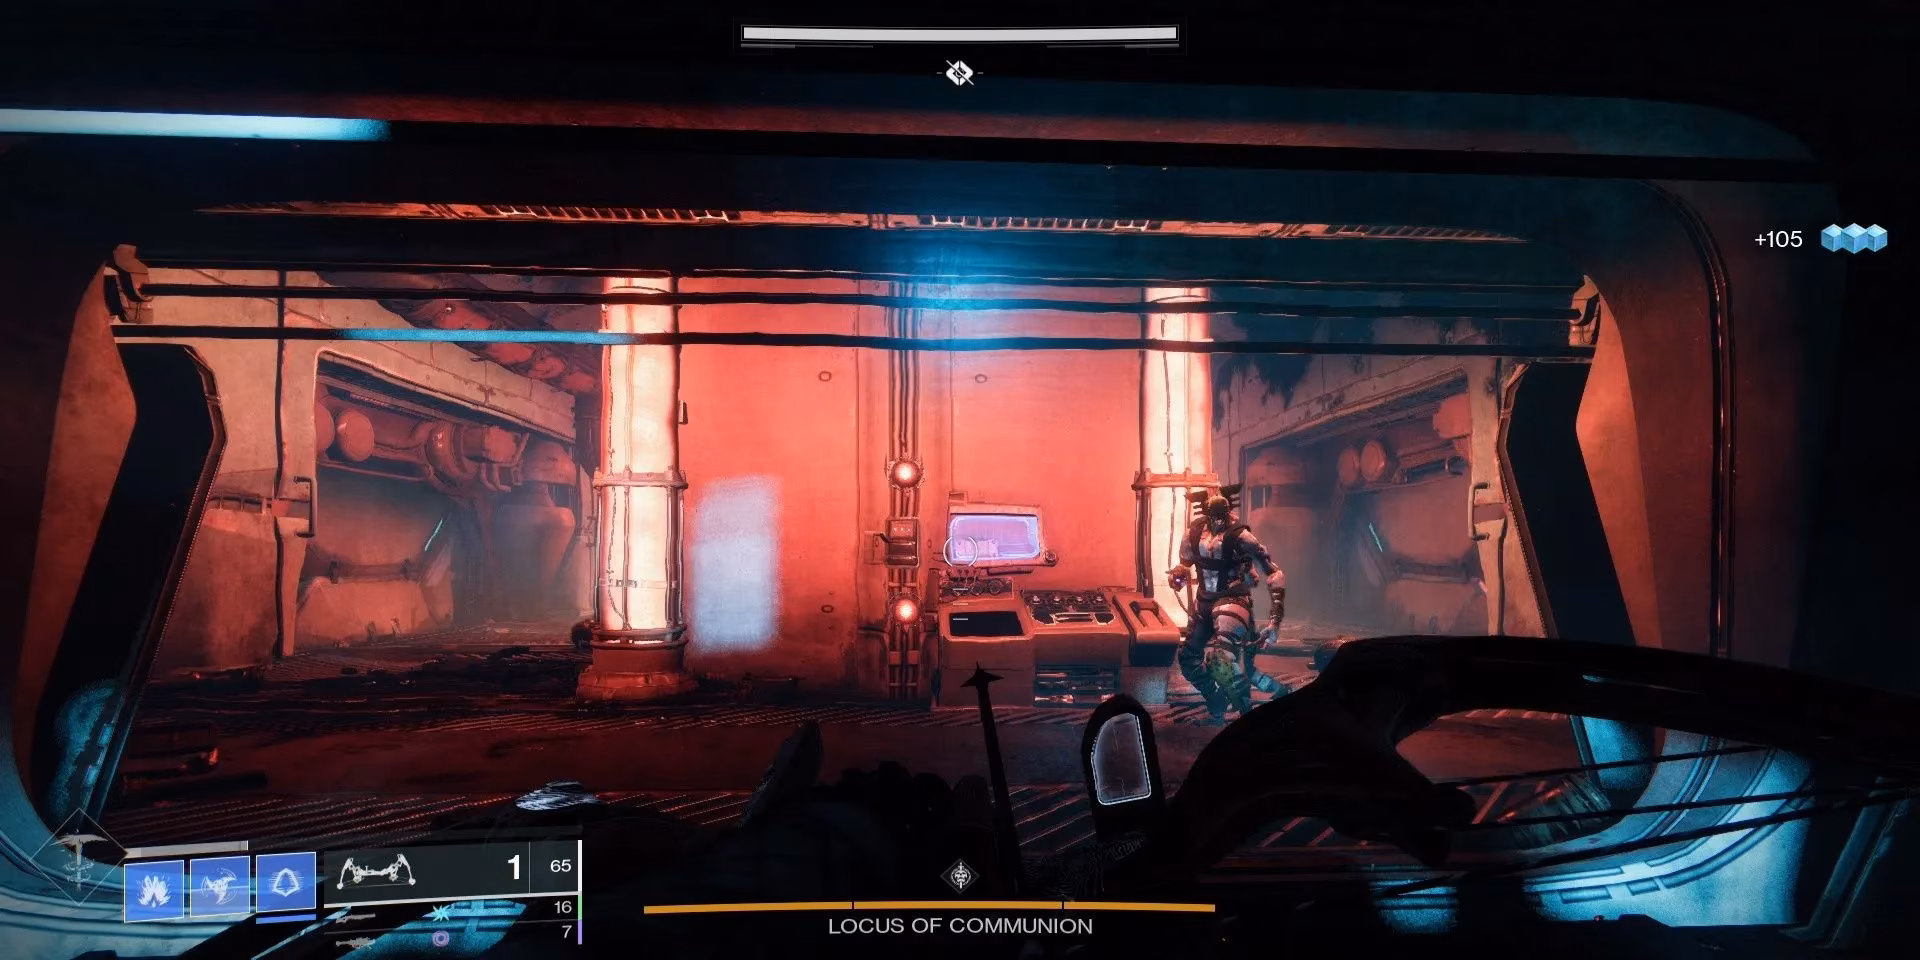
Now you’re in the crimson-lit maze. Smash the panels shown in the image above to reveal a spore cluster. The grates straight across from the spores are your way forward. Follow this path: Enter grate→turn left ASAP→next left→kill lone Screeb→turn right→turn right again to reach the fog gate. If you lose the buff, backtrack to the spore cluster at the start. This spits you out back where you started, but now a door opens directly across from the first spore cluster. Pop spores, cross the fog.
Last room before the big boss: huck a grenade where the Screebs pour out, sprint to the opposite end, flip a switch to expose a fuse. Shoot it, run back to find a spore cluster, then use it to cross the final fog gate.
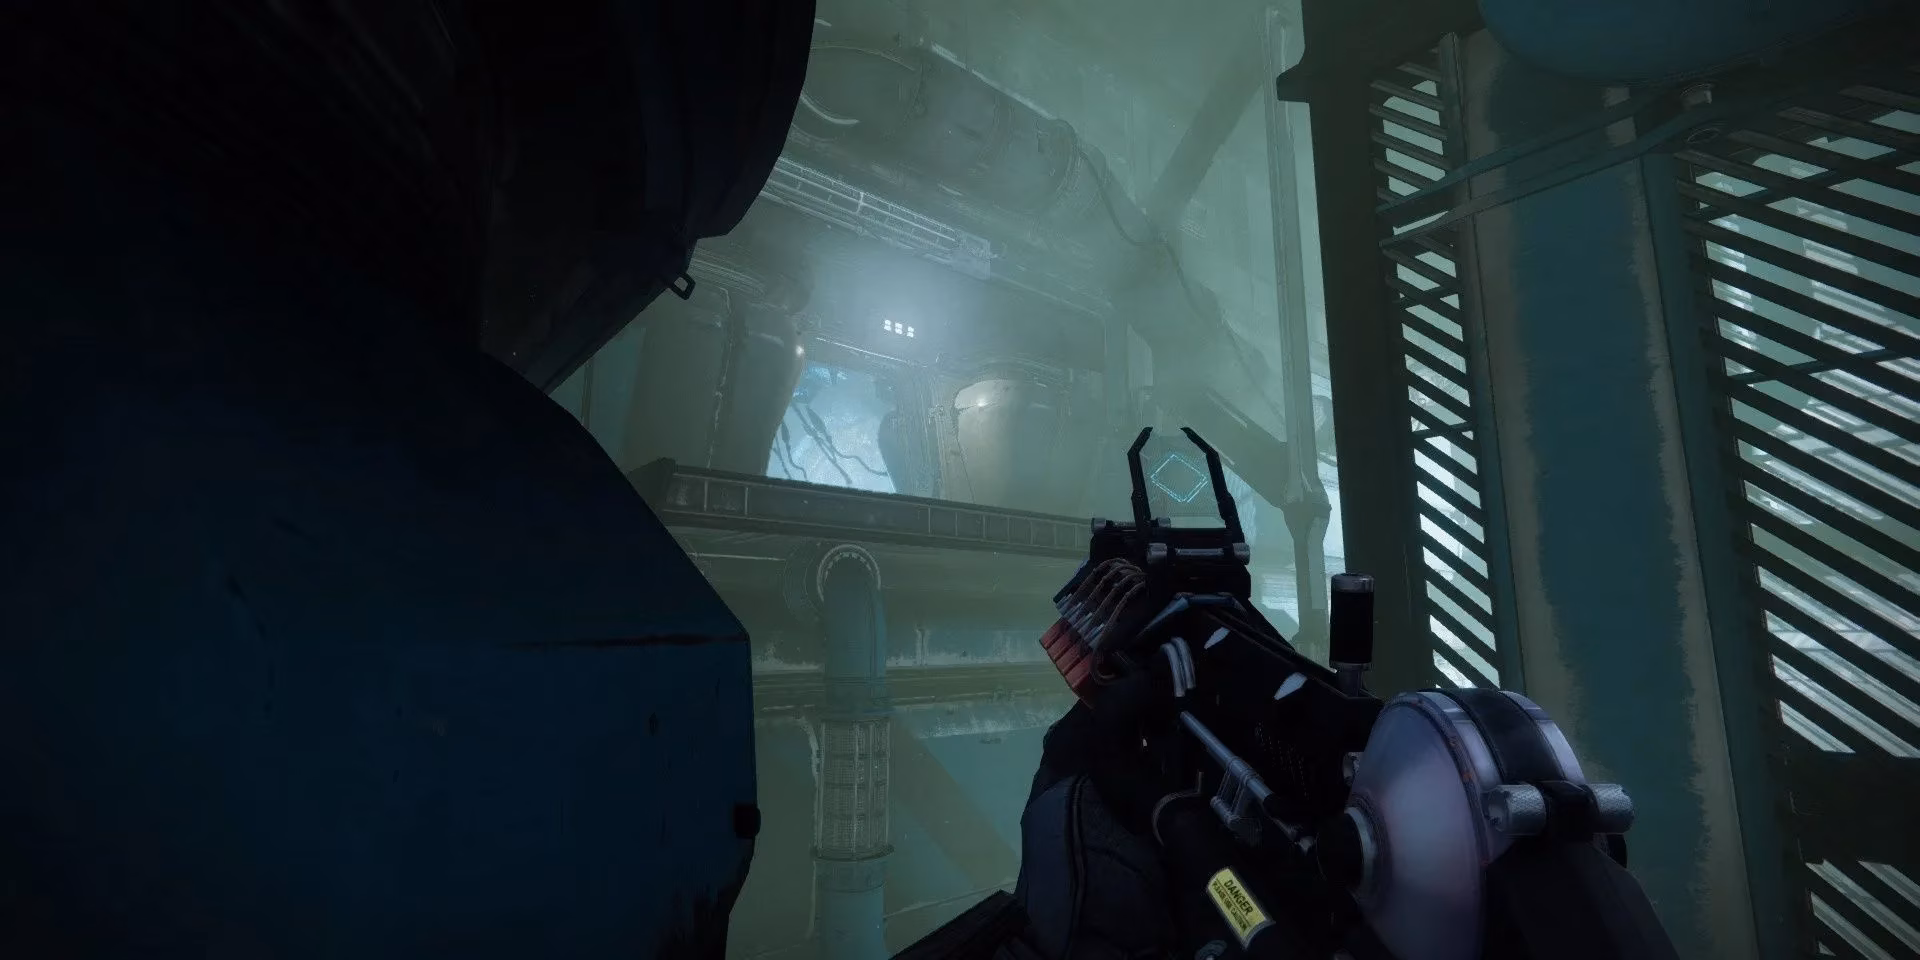
🧗 Platforming Section
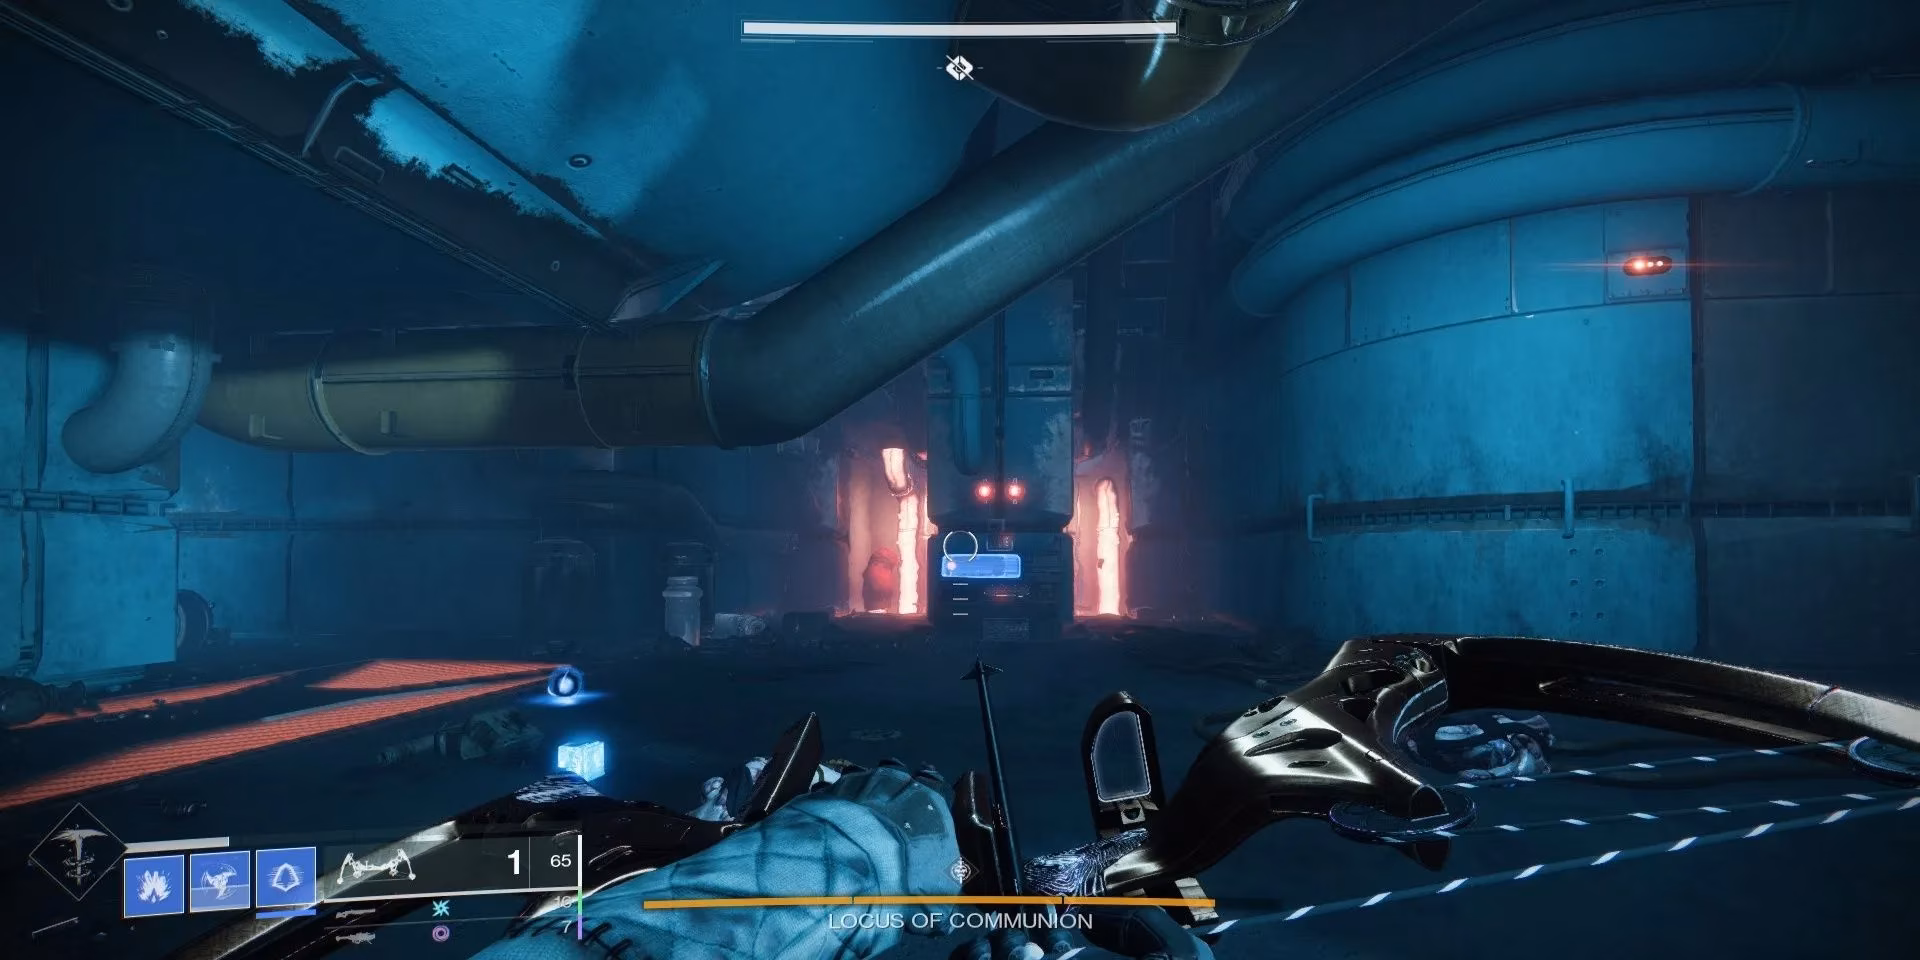
Nearly there! Rotate the vertical platforms by jumping toward them. Snipe any Raiders that bother you. At the far right end, pull a switch, then head back. As you drop down to a red pipe, look to the center wall for a fuse and break it.
Sprint back to the start, pop spores, and refresh your buff at the second spore cluster midway (shown below). Then book it to the fog gate at the right end. Drop a Raid Banner if you’ve got one, grab ammo, and head into the showdown.
👹 Locus of Communion Boss Fight
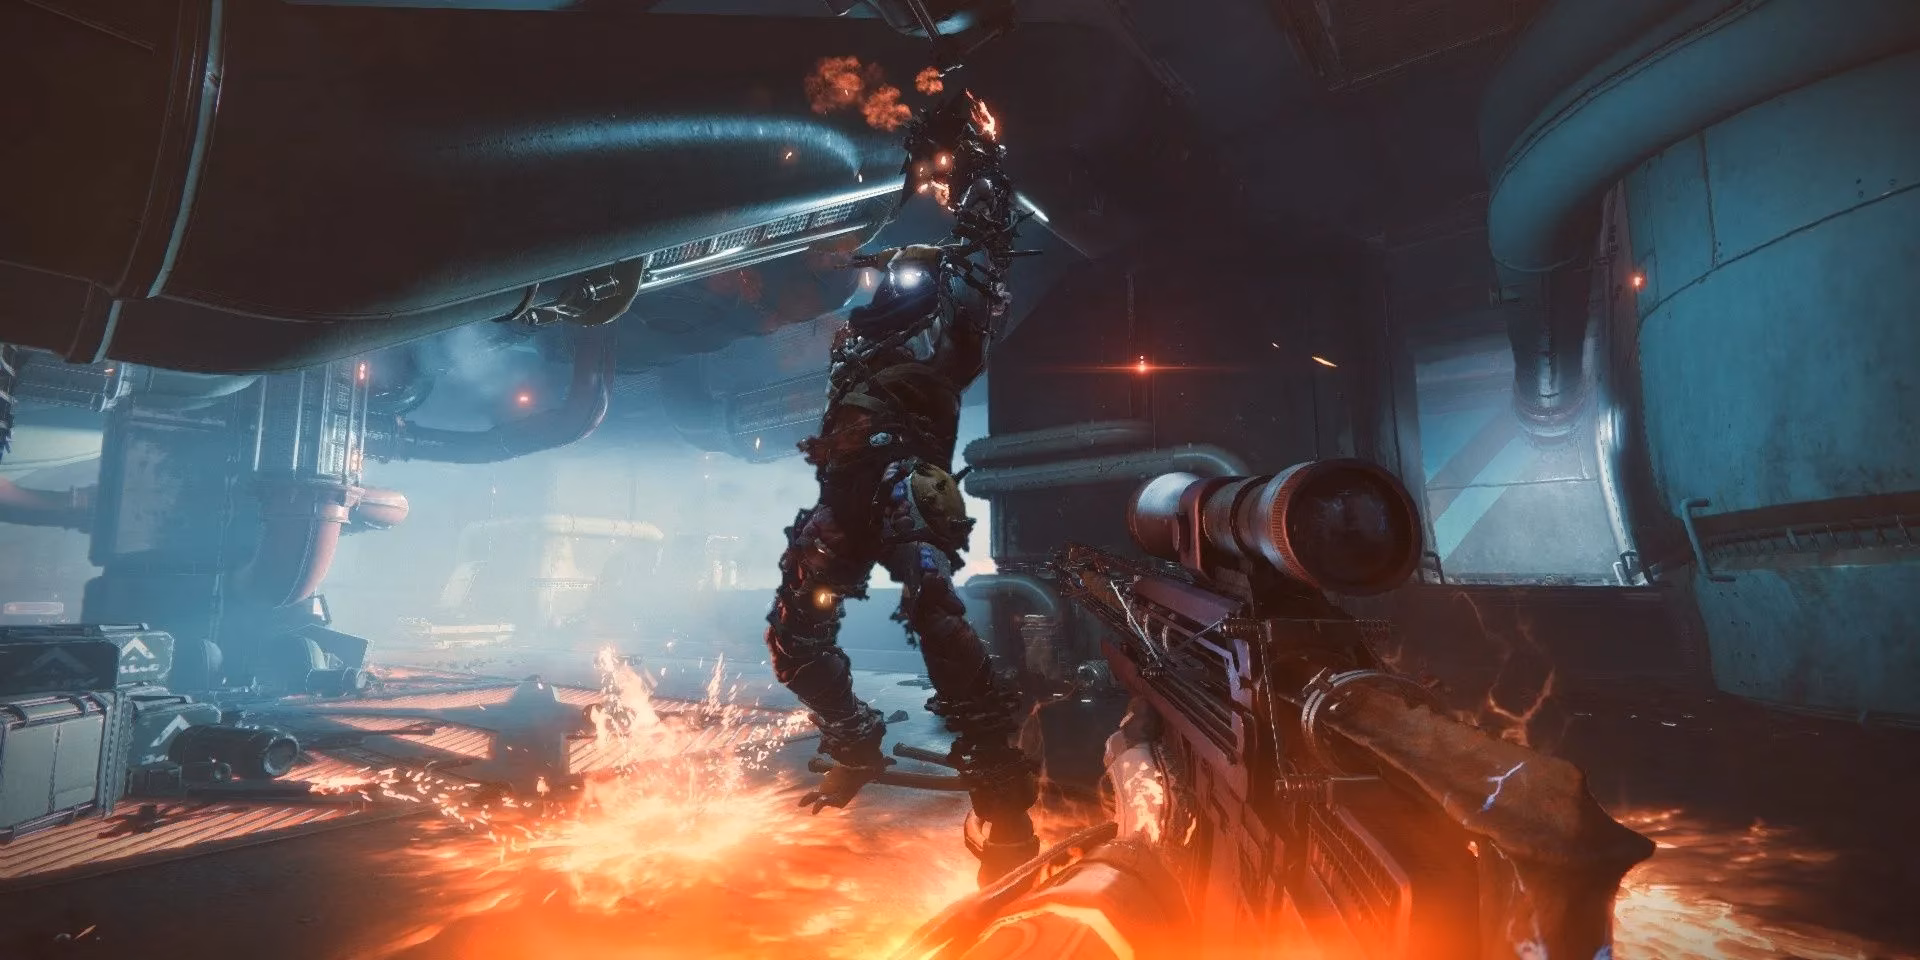
This fight is all about cooling the furnace. At the start, the boss rushes you. Land a few shots and he dips into the flaming floor below—stand in it and you’re toast. You need to activate three coolant panels around the upper level. Order doesn’t matter, but panel #2 burns you while you’re in that room, so save it for last.
Once all three flush messages appear, drop down into the furnace. The Locus is aggressive—use Stasis, a blinding GL, or just good old kiting. Heavy hitters like Anarchy, Witherhoard, or The Fourth Horseman (if you’re feeling like a gigachad) melt him. After about a third of his health, the furnace re-ignites. You’ll see a “Boiler Room Temperature Critical” warning—get back up top within 5 seconds or burn. Clear the adds, cool the furnace again, repeat two more times. Adds don’t despawn between phases, so keep your head on a swivel. Defeat the boss, follow the waypoint, and claim your prize.
🎁 Presage Rewards – What’s Worth Grabbing
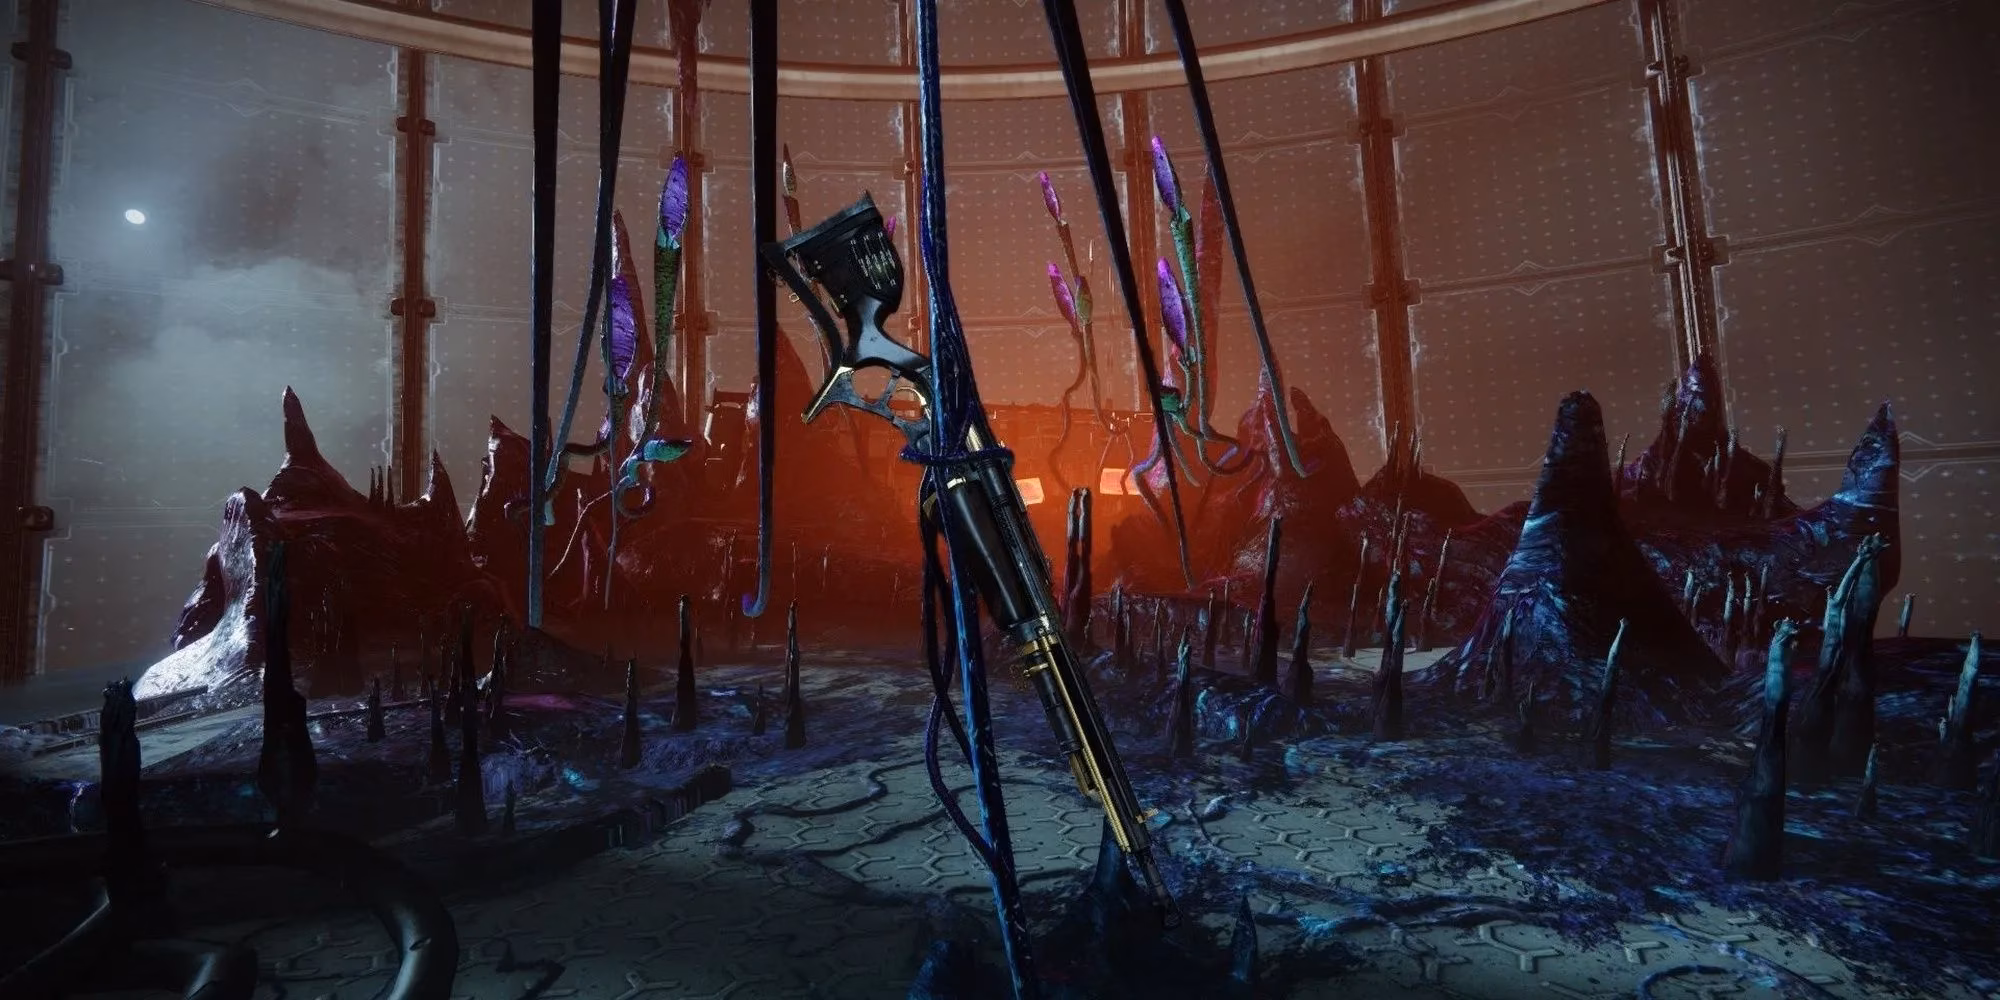
The star of the show is Dead Man’s Tale, a craftable Exotic 120 RPM scout rifle with Cranial Spike. Landing precision hits stacks damage and reload speed, and at 5 stacks, hip-firing bumps the RPM to 180. It feels like a space cowboy lever-action, and the intrinsic upgrades (earned by replaying) boost stats further. Craft your personal god roll from a unique trait pool—outlaw, vorpal, Fourth Time’s the Charm… chef’s kiss.
But wait, there’s more! Each clear also drops a craftable weapon from Season of the Haunted. These are all bangers, especially for collectors or anyone craving Incandescent/Vorpal combos:
| Weapon | Archetype |
|---|---|
| Bump in the Night | Rocket Launcher (25 RPM, Stasis) |
| Firefright | Auto Rifle (450 RPM, Kinetic) |
| Hollow Denial | Trace Rifle (1,000 RPM, Void) |
| Nezarec’s Whisper | Glaive (55 RPM, Arc) |
| Tears of Contrition | Scout Rifle (180 RPM, Kinetic) |
| Without Remorse | Shotgun (80 RPM, Solar) |
Whether you’re chasing a perfect Bump in the Night for PvE or a snappy Without Remorse for PvP, Presage is a goldmine. The best part? It’s endlessly replayable and stays challenging without being a slog.
✨ Final Tips for 2026 Guardians
-
LFG is your friend for Legend runs—a mic’d-up fireteam makes the time limit chill.
-
Equip a scout rifle to take advantage of the Overcharge modifier; Dead Man’s Tale itself is a stellar pick if you already have a crafted one.
-
Keep moving during the boss fight. Stasis turrets or Osmiomancy Warlocks trivialize the adds.
-
Don’t sleep on the Haunted weapons. Hollow Denial with Repulsor Brace + Killing Tally is a Void 3.0 workhorse.
Presage remains a masterclass in Destiny 2 mission design—creepy vibes, tight puzzles, and gorgeous loot. Go get that Dead Man’s Tale, and may your Screeb encounters be swift and explosive. See you in the Glykon, hotshot.